Drop-and-Hook Trailer Inspection: A Practical Checklist for Truck Drivers
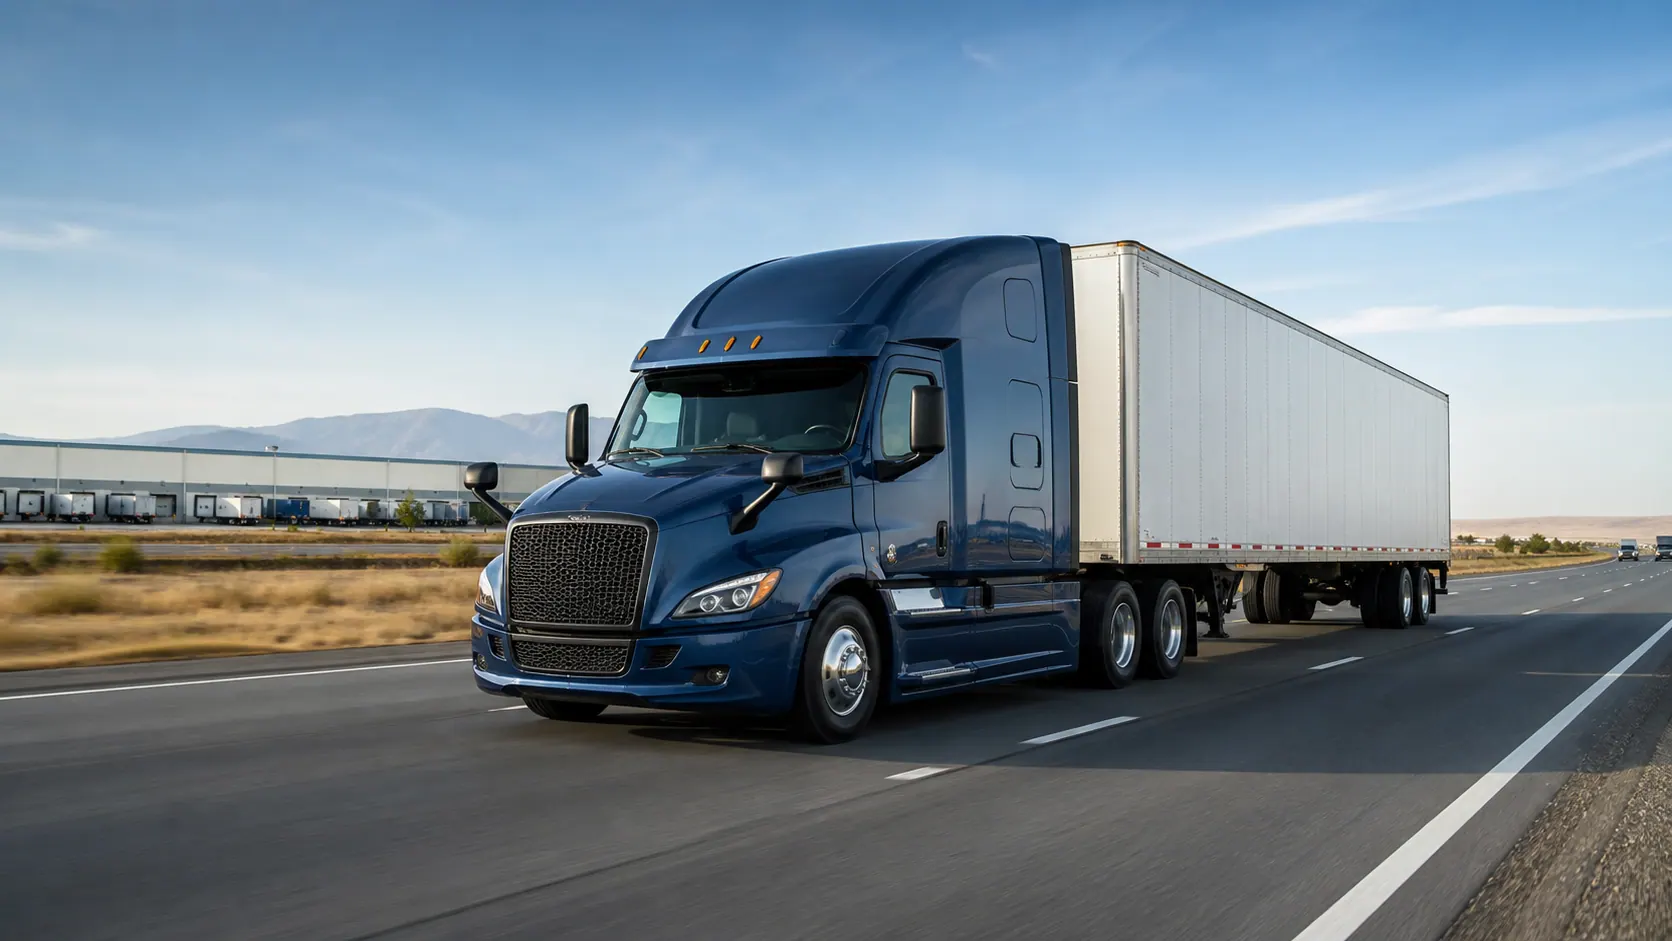
Drop-and-hook freight can save hours at a customer, but the speed of the exchange creates its own risk. The driver did not necessarily park the trailer, load it, inspect it, or report its defects. A trailer that looks ready from the cab may have a bad tire, damaged air line, raised landing gear problem, incorrect seal, weak floor, or a coupling issue hidden in the shadows.
Treat every unfamiliar trailer as unknown equipment until you have checked it. The FMCSA Motor Carrier Safety Planner lists trailer brake connections, lights, tires, coupling devices, wheels, rims, and emergency equipment among the items a driver must be satisfied are in good working order before operating a commercial vehicle.
Confirm the Trailer Before You Touch It
Start with the dispatch information. Match the trailer number, location, load status, destination, and any seal or reference number. Look at the entire trailer from a distance before backing under it. A visible lean, low corner, damaged roofline, open door, flat tire, or missing landing-gear foot can change the safest approach.
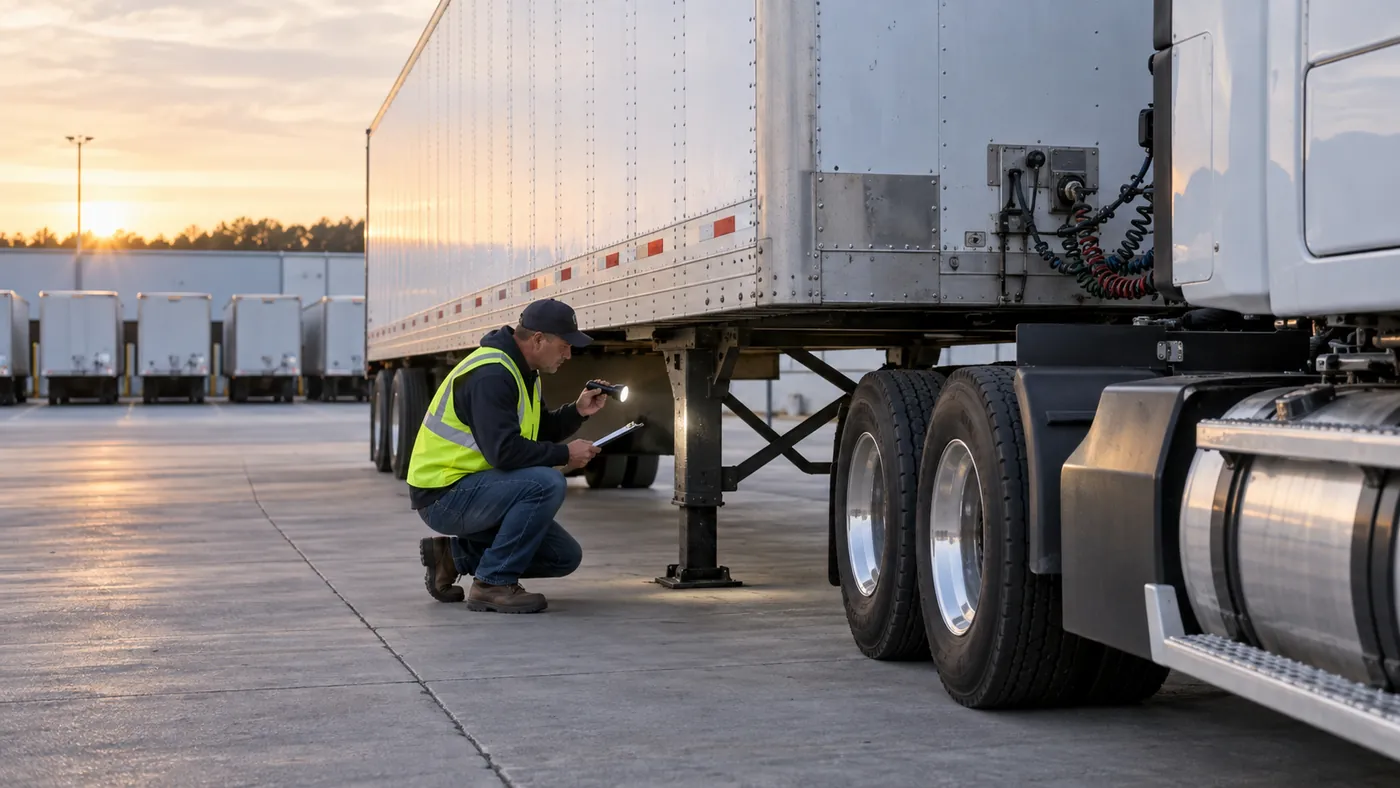
Check the ground around the trailer for broken pallets, wheel chocks, loose dunnage, leaking fluid, deep potholes, ice, and pedestrians. Verify that the trailer has enough clearance from the trailer beside it for a complete inspection. If the yard is dark or congested, slow the process down and use the lighting and high-visibility equipment required by your carrier.
Check Trailer Height Before Backing Under
The trailer apron should meet the fifth wheel correctly. If the trailer is too high, the kingpin may pass over the fifth wheel without coupling. If it is too low, the tractor can strike or lift the trailer improperly. Stop before contact and compare the apron with the fifth-wheel plate.
Back slowly and straight. Avoid hitting the trailer hard enough to damage the landing gear or push an unsecured trailer backward. After coupling, perform the tug test according to company procedure with the trailer brakes applied. A tug test supports the inspection; it does not replace a visual check of the locking mechanism.
Visually Verify the Coupling
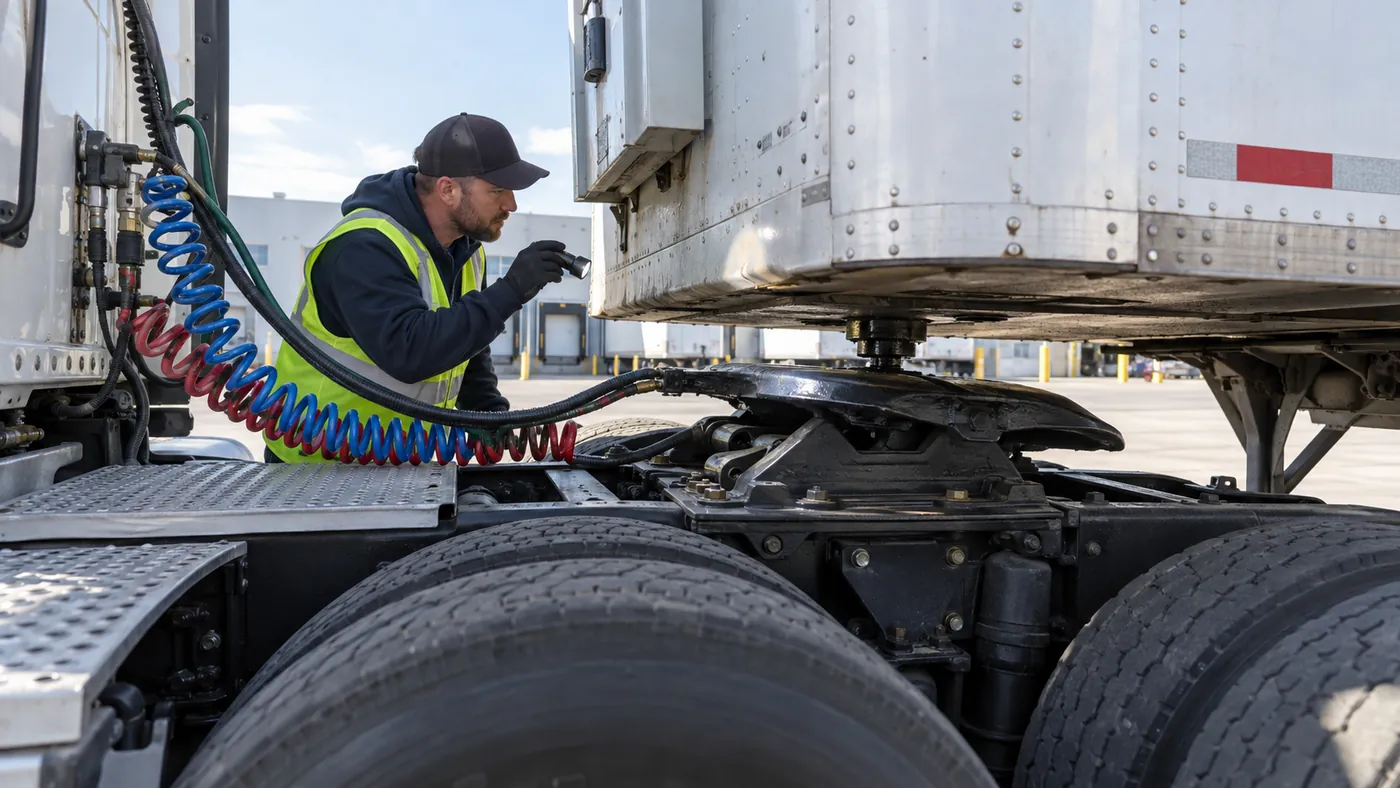
Set the parking brakes, secure the vehicle, and use a flashlight. Look for complete contact between the trailer apron and fifth wheel, with no visible gap. Confirm that the kingpin is captured by the locking jaws and that the release handle is in the locked position. Inspect the fifth-wheel mount and slider for damage, missing hardware, or an unlocked slider mechanism.
Never place yourself under equipment that is not secured or between vehicles that could move. If the lock cannot be clearly verified, uncouple and repeat the process or ask qualified yard or maintenance staff for help. Guessing is not an acceptable coupling check.
Connect Air and Electrical Lines Carefully
Inspect the glad hands, seals, hoses, electrical cable, and connectors before attaching them. Look for cracks, cuts, worn insulation, loose fittings, bent pins, damaged seals, and lines that have been dragged on the deck. Route the lines with enough slack for turns but not so much that they can rub the frame, catwalk, or tires.
After connection, charge the trailer air system and listen for leaks. Confirm that the dashboard indicators behave normally. Test service and emergency functions under company procedure in a safe area. Check that the trailer ABS warning lamp completes its normal cycle and that all required lamps respond correctly.
Raise and Inspect the Landing Gear
Before cranking, inspect both legs, braces, cross-shaft, handle, gearbox area, and feet. Bent braces, a twisted leg, missing hardware, or a foot sinking into soft pavement may require assistance before the trailer can be moved. Keep a stable stance and keep hands clear of pinch points.
Raise the landing gear fully and secure the crank handle in its keeper. Verify that both legs retract evenly and that nothing hangs below the trailer. Do not leave the gear partly raised to save time; reduced clearance can cause a strike at a driveway, rail crossing, speed bump, or uneven yard surface.
Walk the Trailer From Front to Rear
Follow a fixed sequence so no area disappears from memory:
- Inspect the front wall, roof edge, side panels, frame, and reflective material.
- Look beneath the trailer for hanging components, damaged crossmembers, leaks, or fresh impact marks.
- Check suspension components, air bags, brake chambers, hoses, and visible brake hardware.
- Inspect every tire for inflation, cuts, bulges, exposed material, uneven wear, and objects between duals.
- Check wheels, rims, hubs, fasteners, and the sliding tandem locking system.
- Verify mudflaps, rear impact guard, lights, doors, hinges, latches, and seal condition.
Compare both sides. A trailer leaning at one suspension position or a tire that looks different from its axle mate deserves a closer check. Report defects by trailer number, side, axle, and wheel position so maintenance receives useful information.
Inspect the Cargo When Access Is Allowed
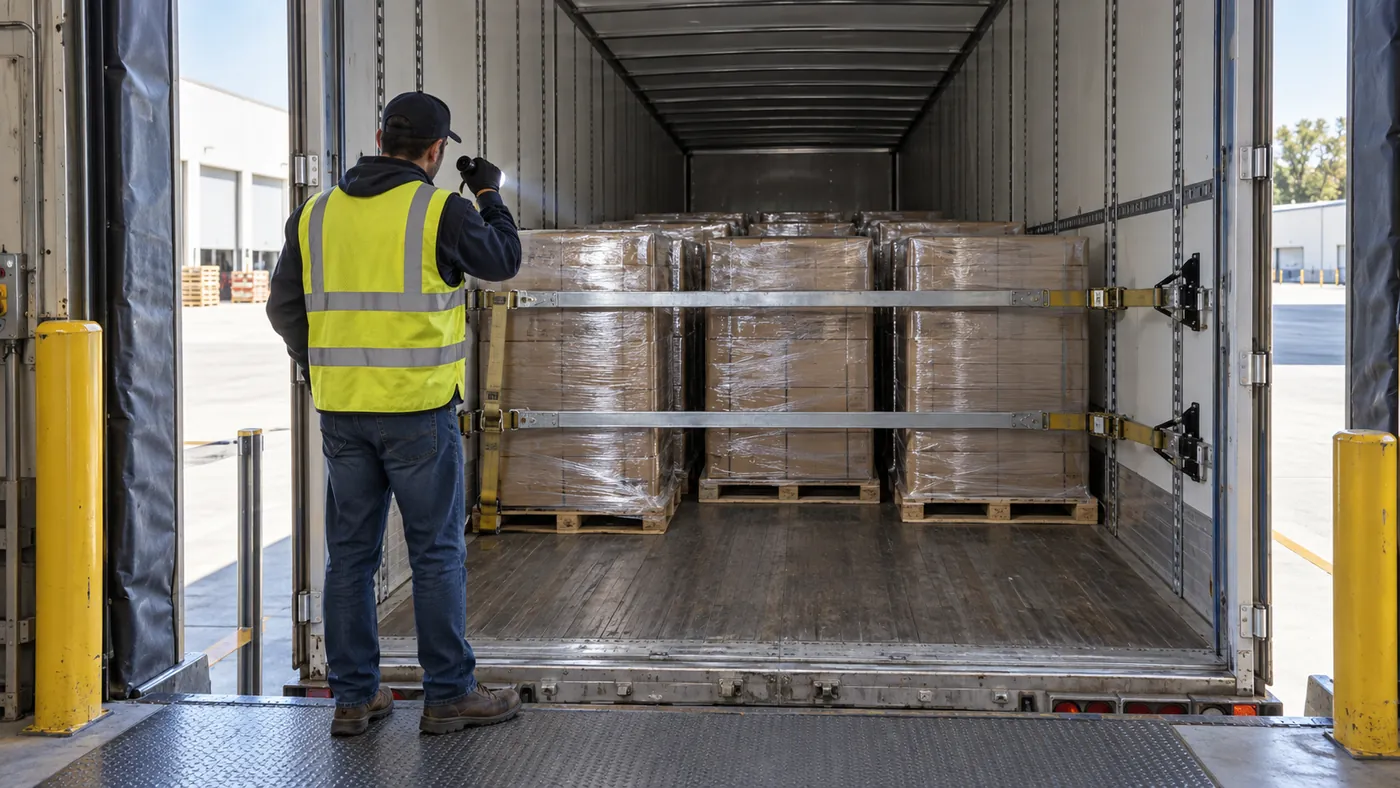
If the trailer is unsealed and your procedures allow access, open the doors cautiously. Freight may have shifted against them. Stand to the side, control the door, and look inside before stepping onto the trailer. Check the floor, walls, roof, bulkhead, and cargo arrangement.
Cargo should be distributed and secured so it cannot shift enough to affect stability or maneuverability. Look for broken pallets, leaning stacks, damaged packaging, loose dunnage, weak load bars, torn straps, or space that allows freight to gain momentum. The FMCSA guidance on cargo inspection explains that a driver may not have loaded the freight but must still understand securement methods and may need to adjust securement devices under §392.9.
Handle Sealed Trailers With Documentation
Do not break a shipper seal unless you have authorization. Match the seal number with the paperwork, photograph it if company policy allows, and record any mismatch, damage, or missing seal before moving the trailer. A sealed load limits what you can see, but it does not remove the need to inspect the exterior, running gear, coupling, and available documentation.
Review the bills of lading, commodity description, declared weight, special instructions, and hazardous-material information when applicable. Confirm that the trailer and load match the dispatch. If weight or distribution seems questionable, follow carrier procedures for scale verification before committing to the route.
Test Brakes and Lights Before Leaving the Yard
A walkaround cannot prove that every brake and lamp operates. Complete the tractor and trailer brake checks required by your training and carrier. Test headlights, clearance lights, markers, tail lamps, brake lamps, turn signals, and four-way flashers. Use a helper, reflection, camera system, or approved light-check method without standing in traffic.
Move the combination slowly in the yard and confirm that the trailer tracks normally, the brakes respond, and no unusual noise or resistance appears. Stop immediately if the trailer drags, leans, pulls, or produces a warning you cannot explain.
Recheck the Load After Departure
Cargo and securement can settle after the first miles of vibration and braking. Federal rules include cargo-inspection requirements during a trip, including an inspection within the first 50 miles when the rule applies. Sealed loads and other operating situations can affect access and duties, so follow §392.9, the shipping documents, and your carrier's instructions.
Choose a legal, safe location for the recheck before leaving the yard. Do not wait for a shoulder emergency. Walk around the trailer, check tires and hubs for unusual heat, look for a new lean or bulge, inspect doors and seals, and listen for air leaks.
A Repeatable Drop-and-Hook Checklist
- Match the trailer number, load, destination, and seal information.
- Inspect the yard, trailer position, height, and visible condition.
- Back under slowly, couple, perform the tug test, and visually confirm the lock.
- Connect and inspect air lines and the electrical cable.
- Raise and secure the landing gear completely.
- Inspect frame, suspension, brakes, tires, wheels, tandem pins, lights, doors, and rear guard.
- Inspect cargo and securement when access is permitted.
- Verify paperwork, weight information, seal, and special instructions.
- Complete brake and light tests before leaving the yard.
- Plan a safe early-trip recheck and document every defect.
Fast Freight Still Requires a Full Inspection
The advantage of drop-and-hook freight is reduced waiting time, not reduced responsibility. A disciplined driver can inspect efficiently because the sequence is familiar and the tools are ready. Skipping steps may save minutes in the yard and create hours of delay on the road.
Approach every unfamiliar trailer with the same routine. Confirm identity, secure the coupling, inspect the equipment, verify the load information, test the systems, and report defects before departure. That process protects the driver, the cargo, the carrier, and everyone traveling nearby.